Cut In Like A Pro


The Art of Cutting In
The art of cutting in ceiling lines is a skill that takes years to master but with a little guidance you will master this in a shorter period of time. Now you might ask if you truly can cut in like a pro, and I am here to tell you can. Time and repetition is the key to mastering cut ins and I have a few tricks to share with you.
There is no shortcut to mastering this skill however, ones speed and accuracy can increase if these few pro tips that I am going to share are applied. It is similar to an NFL quarterback who went to training camps when he was a child and was coached along the way to the pros. Those tips and tricks gathered, aided in the process of the journey to the top. With that I am going to share my experience of cutting in and what helped me achieve excellent quality, speed, and results.
The first thing to know is that you are only as good as your tools. To be able to cut in like a pro you have to have the tools that are higher quality and will perform as well as you. Not all brushes are created equal and only a few were made for cutting in. Watch my brush recommendation video CLICK HERE. When you walk into the paint store the choices can be a little overwhelming in the brush section but in reality there are only a few you should actually purchase. A couple brush manufactures I highly recommend are Wooster, Corona, and Premier.
The shape of the filaments make a difference when cutting in. I prefer an angled sash or filament brush for cutting in. The angled filament shape allows you to get into corners quicker and easier. I use a 3” angled filament brush to be exact. This brush allows me to hold more paint and therefore draw a longer cut in with each dip of paint.
Filaments or bristles are all different. There are some that are natural hairs that come from ox or horses, then there are manufactured bristles that are called filaments that are made out of polyester and nylon. Dupont has now created these super filaments that they call Tynex and Orel. I highly suggest brushes made with Dupont filaments because the performance is excellent and they hold their shape, stiffness, and clean faster than any other filaments on the market. Dupont’s version of polyester and nylon, Tynex and Orel, absorb less water, resist humidity therefore hold their stiffness longer
Cutting in perfect lines is harder with a brush that is softer. Lesser quality filaments will have a certain stiffness and after about thirty minutes the filaments absorb water from the paint and become softer. Finding the right stiffness for the paint you are using is key to any job. Cutting in usually requires a stiff filament brush but if the filaments are too stiff you can get what we call roping or brush strokes. Today paint comes in many different consistencies so you could actually have a brush for every paint, this would cost a fortune but after trial and error I narrowed it down to just a couple brushes for interiors. CLICK HERE to get details on one brush I recommend. This brush is a blend of Tynex and Orel and is a 3” angled filament brush. Handle style is a personal preference but I use the Dale style handles. You also have beaver tail and rat tail handles. If you are curious about exterior brushes, I highly recommend a Chinex bristle brush for todays paints that dry extremely fast. My go to exterior brush can be seen HERE. Enough on brushes and lets get to painting.
Now that I have my brush and bucket of paint in hand, we are going to load the brush up with paint and get started. Loading the brush is a method by which you dip your brush into the paint bucket submerging the filaments half way into the paint then remove it and pat it on the the side of the bucket to get the excess paint off. The patting process also helps load the filaments with paint. Do not scrape the filaments on the bucket because this removes the paint from the brush and defeats the purpose of the dip.
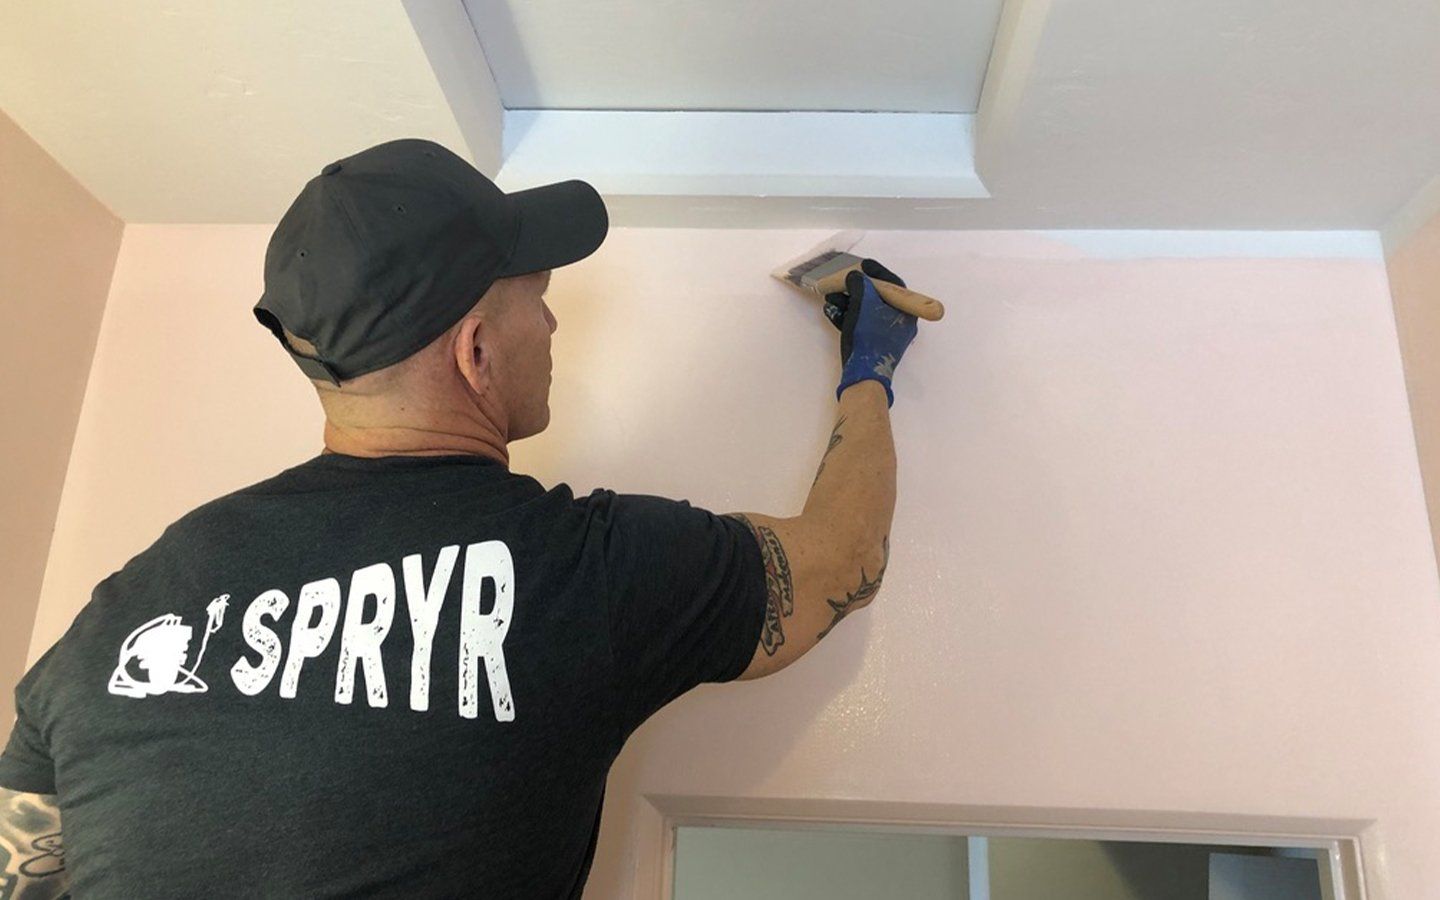
I am going to take my brush to the cut in surface and slowly rotate the brush to stop the drips that may occur. As I travel to and from the surface I want to keep that rotation so I do not drip paint. Once loaded I set brush about 4-5” away from the cut in. Now take a deep breath and relax. When I begin a cut in I start by holding my breath, this simple step may improve the stroke because you will be still and calm. I still practice this step after 18 years because I find my shakes on occasion show up. I begin moving my brush in an arching motion traveling up to the cut in line, I am leading with the heal of the brush and the tip follows drawing the line. I am working my way to the ceiling cut in line and this method gets my hand in a rhythm as I move forward.
Speed matters, if you try to go to slow it is very difficult to get a straight line and too fast holds true also, a nice steady pace matters. A properly loaded brush should travel approximately 12” before all the paint is released. Once the paint is released from the filament I end the cut in and travel back in the opposite direction. I am right handed and cutting in for me feels so much more natural if I cut in from left to right. After the brush is unloaded going left to right I brush the opposite direction going right to left. This helps fill any peaks or valleys that did not get filled on the first pass. The more filaments you get near your ceiling the more success you will have getting it straight. If you have a bumpy surface painting the opposite direction with the tip of the brush leading the cut does wonders.
After I made my two passes it is time to reload the brush and make another cut. Reloading the brush often is essential, keep the surface nice and wet with paint so the brush does not get dry. A wet paint brush becomes easier to work with. On my second cut in I do the same process but I enter my last cut about 3” from its end and I merge into a wet edge. I make as many cut ins as I can reach while on the ladder then I’ll back roll the cut ins with a 4” roller. Back rolling creates the same pattern on the wall when the paint dries. If I cut in and do not back roll my wall you will see what we call picture framing caused by the different dried patterns of paint. The thicker the paint the more prominent this will be. For best results, back roll 1” or to the ceiling or to your comfort level because the last thing you want to do is hit the ceiling causing touchups.
One trick I teach is to always side on making your cut 1/16” onto to ceiling verses 1/16” down from the ceiling. Perfection in the ninety degree angle is best but most ceilings are imperfect and it is impractical to achieve. If you side by painting onto the ceiling and step back the illusion is that you are right in the corner. You can only tell if it is on the ceiling if you get right up to the wall and look up. Most people will be in the center of the room when evaluating your work. If you side by painting 1/16” down from the ninety degree angle when you step back you will see every wave of imperfection in your cuts. It is a simple phenomenon that always holds true and a trick I have been using for over fifteen years.
Thank you for reading my simple tips and tricks on cutting in. If you need any more tips you can watch some videos on my YouTube channel Paint Life TV where I will visually show you my hacks to perfecting your cut ins.
CLICK HERE
Our Paint Life store is now full of Branded and co-branded tools that I trust and use daily. To get a glimpse of these tools or see our latest in Paint Life apparel visit our STORE You can purchase our Paint Life game changing tools, cool painters apparel, and gifts every painter would love.
The shape of the filaments make a difference when cutting in.
I prefer an angled sash or filament brush for cutting in.
Chris Berry - The Idaho Painter