Fireplace Makeover


How to Make a Fireplace Look New Again
Re-decorating your fireplace doesn’t have to be a costly affair. Lots of times, painters can create a professional finish on a fireplace for less than half of the cost and effort that it would take to tear out and put in a new one. I’d like to share my tips and tricks that I’ve learned from my years of knowledge in the painting business to help you create that fireplace of your dreams. For this project I have a outdated 12’X12” tile fireplace with 2” decorative tile. I am going to do a venetian plaster over the tiles and metallic finish over the 2” tile.
Firstly, you’re going to need a few different pieces of equipment. You need the Venetian Plaster of your choice, Metallic paint finish, FrogTape, drop cloths, a ladder if your fireplace has hard to reach areas on top, a putty knife, and a few troughs of varying sizes. I use a venetian plaster compression trowel and a flex trowel.
Place your drop cloths on the ground next to the fireplace to prevent any spilling from the paint or the plaster. Tape up any cords from that can’t be taken down against the wall so that no paint or plaster gets on them. Using FrogTape is ideal because FrogTape won’t take the paint off of walls but is still strong enough to hold the cables in place.
You want to make sure that if you have any grout lines that you don’t want to get any plaster into them. We want our grout lines to look natural. Start with the top of the fireplace, if it has an area up top, make sure to use a ladder if need be so that you can reach all the hard to reach places. We are going to start troweling on our plaster with our flex trowel. You can watch our video on Paint Life TV for the exact technique and process.
After that, you want to move onto the large areas of tile that your fireplace has. Make sure that you don’t fill any of the lines with plaster, you want to make sure that you don’t push any of the plaster into the lines or else you’ll end up ruining the texture of the lines. I use a water-based vinyl Venetian Plaster, not lime based, and I recommend these to you as well.
Once your first coat of the plaster is dry you can work on the second layer. This layer will give you more depth and color out of it. For the next coats, you just want to skim what you’ve already done, no need to do anything fancy. Make sure to clean your putty knives and troughs as you go along so that buildup doesn’t accumulate on them. The plaster will often stick to them and it can be hard to get them off if left on for too long.
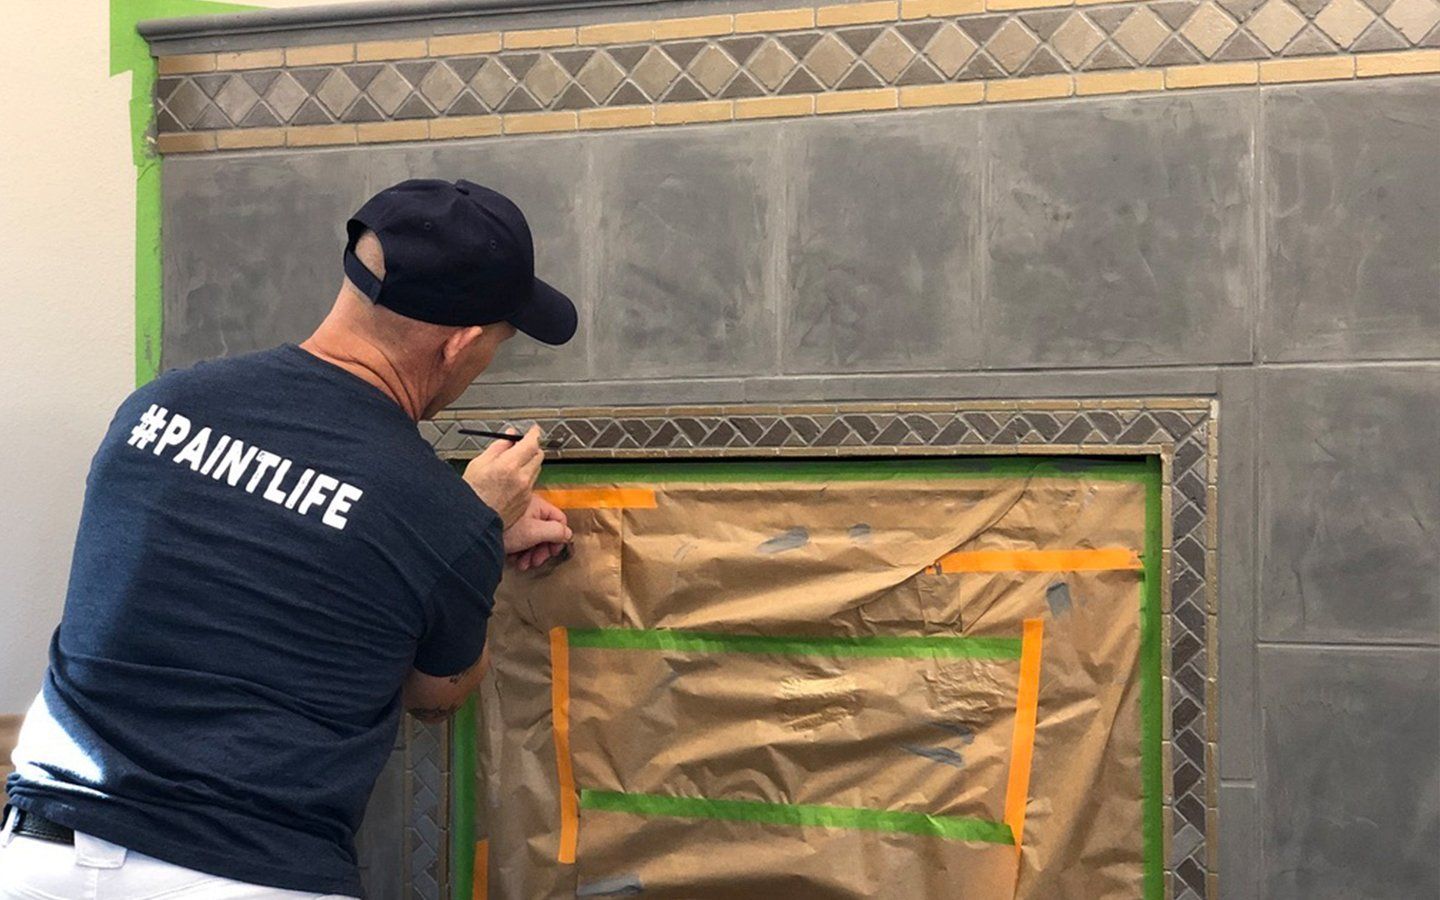
A big part of making big projects go by faster is utilizing your time correctly. While a coat of the plaster is drying, you can paint any of the small areas with a metallic finish of your choice. I like using metallic finishes because it gives a more professional looking finish. You want to do brush strokes in random directions so that it gives you the metallic look, otherwise it won’t look textured if you just brush in one direction.
Once everything is dry, the final stage of polishing can begin. I have an industrial sander Ekasand I’ll use for the big areas and a block sander to get the small areas that the big sander can’t get to. After that, compress it all with a finishing compressing trough.
Finally, the project is complete. This is a simple and cheaper way to completely redo a fireplace in half the time and cost that it would to put in new tile. Tile stores often have a limited selection of what you can purchase, but using these types of materials and techniques, you can replicate anything there and more! The Plaster and Metallic coatings are very forgiving materials and easy to use, so it’s hard to make a mistake that’s permanent. If you have any interest in the materials and tools that I use, check out my store at paintlifesupply.com. You can watch my video on the project also here.
I use a water-based vinyl Venetian Plaster, not lime based, and I recommend these to you as well.
Chris Berry - The Idaho Painter